Recycled Longies with Feet
What's better than a diaper cover that you don't have to match with socks? ;) I came up short when looking online for a tutorial on this, so I chronicled my own "winging it". Please let me know if anything is unclear.
You will need:
-A soft 100% wool sweater, lamb's wool or merino are nice. (you can find lots at used clothing stores!)
- a sewing machine (or a needle if your adventurous)
-some fabric of your choice for the feet
-elastic for the waist
- a measuring tape
- scissors
- matching thread
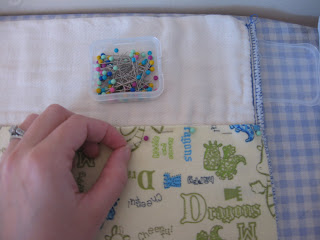
- straight pins
- a pencil
Credit is given to this lady for most of the instructions for the pants alone:
http://www.diaperswappers.com/forum/showthread.php?t=227639 I'm just giving a recap with my materials.
*Hint* I did this by looking at the foot of a pre-existing sleeper. So grab a set and turn it insideout, it may help to have an example in front of you.
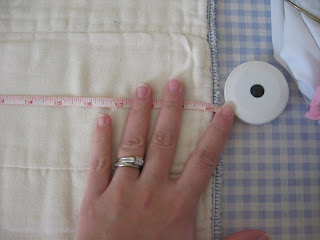
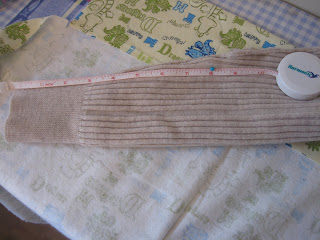
1. Measure your baby. Waist, inseam, rise and foot length.
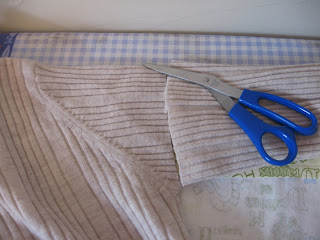
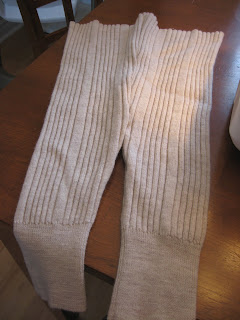
2. Cut the sleeves off of your sweater like so...
3. Measure up from the cuff along the seam and mark the length of baby's inseam with a straight pin. (both legs)
4. Cut down the seam until you reach the straight pin. (on both legs)
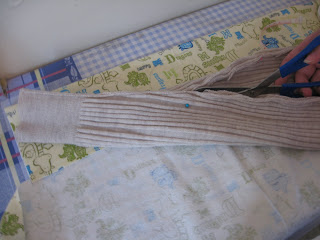
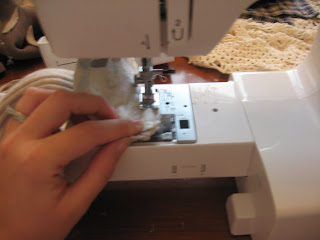
5. Turn one leg inside out and tuck the right-side-out sleeve inside of the inside out sleeve. Line up the cut edges, pin and sew down both sides. I added an extra layer of sewing over the crotch. (the point of the V)
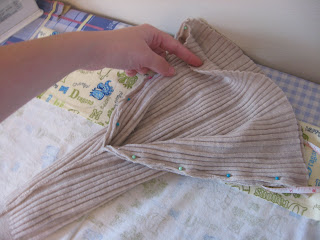

6. Turned out properly, they will look like this:
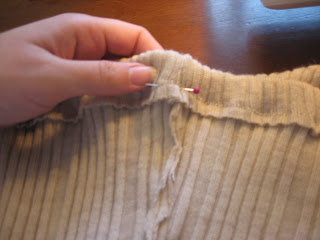
7. Measure your desired rise and pin down the top, all the way around for the waist. Sew it down, leaving a few inches open for your elastic.
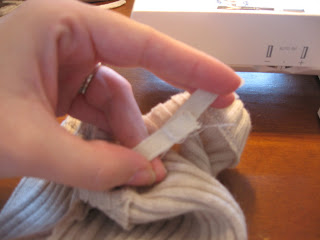
8. Cut your elastic about an inch shorter than your baby's waist measurement. Thread it through the opening with whatever method you like. Some attach the end to a large safety pin, I used a crochet hook. Sew your elastic to complete the loop and finish sewing down the waist.
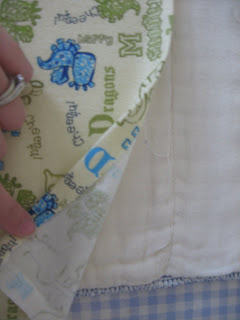
9. Now pick out your cutie fabric and freehand an oval, make it one inch longer than your baby's foot. The width is approximately one inch smaller than the length (i.e., my baby's foot is 4 inches, so my oval was 5x4)

10. Now make a matching half oval.

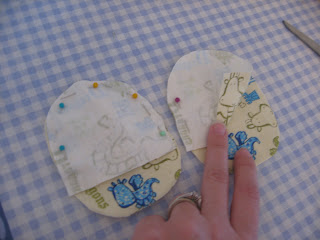
11. Fold your fabric over so you can cut out two ovals and two half ovals at once. Pin them together to hold the ovals while you cut.

12. They will look like this:

13. Unpin them and lay the half ovals over top of the full ovals, right side together and pin them. Like so:
14. Sew them together leaving the straight edge open. Also leave a little flap on either side (don't sew right up to the straight edge, leave about a half an inch free)
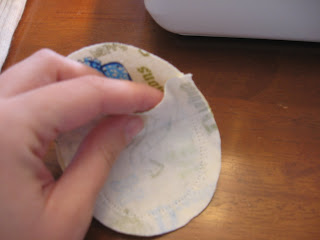
15. Turned right side out, they will look like this. (it's almost a foot!)
16. On the
front portion of the cuff, cut an indent as pictured below. This is where the half-oval, (a.k.a. top of the foot) will attach to the pant leg.
17. Turn your pants inside out.
18. Pin the straight edge of your half oval to the indent you cut in the pant leg. Remember your pant leg is turned inside out, but you still want to pin your fabric to the right side of the wool. And to further complicate (lol), the wrong side of your fabric is facing out... like so:

19. Sew where you just pinned. (so you're sewing a straight line, connecting your half oval to the wool)
20. Now open the bottom of the "foot" so you're looking at the full oval, wrong side up.
21. Match the portion of your oval that's not sewed up with the remaining wool cuff, and pin the edges. Doing so should completely close in the foot.
23. Sew the two edges together.
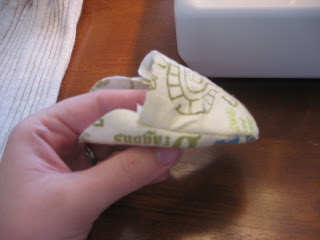
22. It should look like the foot pictured below.

24. Once you turn the leg right side out, you have a foot! Repeat for the other leg.

It's a little hard to explain in spots. Please let me know if you can't follow a section!


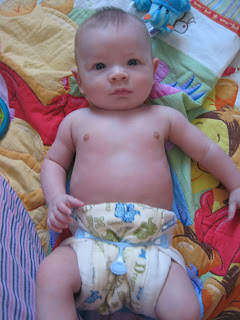
 ETA: An action shot... and now that I've tried them on, I'll be adding some elastic to the back part of the ankle to keep his feet in place!

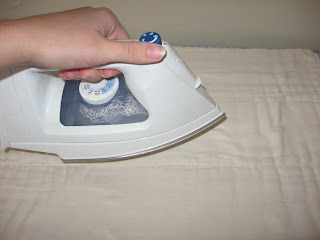
 Iron out all of those lovely quilty pillows in your prefolds so they're easier to measure and won't bunch up in your sewing machine.